How To Add Drop Down List in Excel

Let’s take a look at how to add drop down list to make your spreadsheets more professional and user-friendly. We’ll take a look on how to create dynamic drop down menus using Excel tables as well as provide quick video walkthrough for those who enjoy video guides.
Creating a Basic Drop-Down List
Using Data Validation for Simple Dropdowns
Creating a basic drop-down list in Excel is an uncomplicated process, and it begins with harnessing the power of data validation.
Time needed: 2 minutes
Here’s how to add a drop down menu in Excel
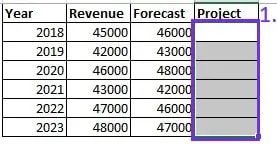
- Select the Cell(s)
To embark on this journey, first, identify the cell or cells where you want your drop-down menu to appear.
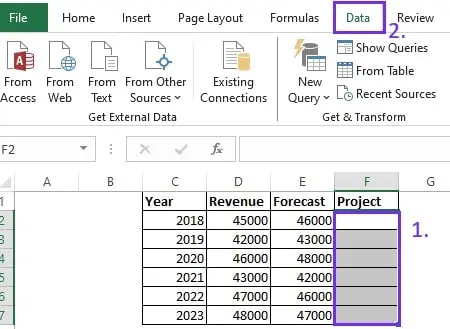
- Go to the Data tab
Navigate to the “Data” tab at the top of your Excel window.
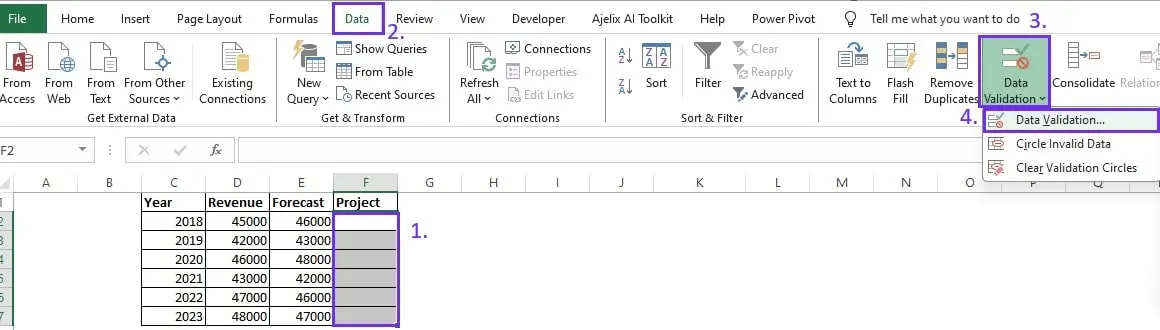
- Set the Validation Criteria
Under “Data Tools,” click on “Data Validation.” Here, you’ll configure the criteria for your drop-down list, such as what items you want to include.
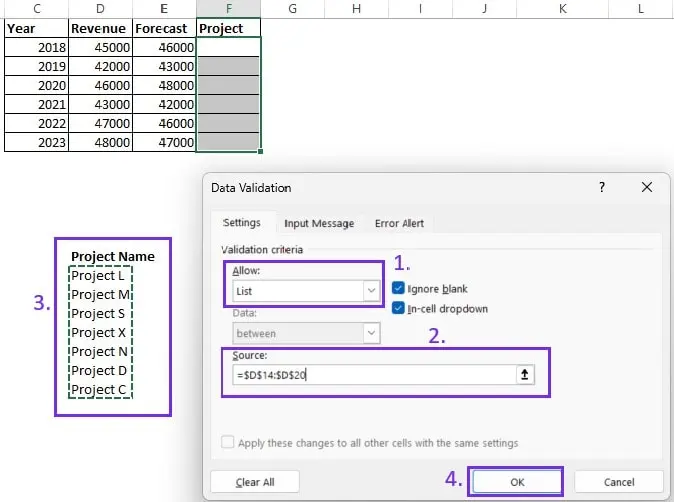
- Input the Dropdown List
Now, in the “Settings” tab, specify the source for your dropdown list. This can be a range of cells or manually typed entries. To set up drop down click Allow settings, choose List and under Source insert the list you have in spreadsheet.
Authors Note: Let us know if this how to guide helped you tackle this task. You might also find valuable how to insert checkbox and how to insert clustered pivot charts.
Here’s a quick video summary on how to do add dropdowns:
Adding Dynamic Dropdown Lists
Creating a Dropdown List with Excel Tables
Excel Tables add a layer of dynamism to your drop-down lists, making data management more efficient.
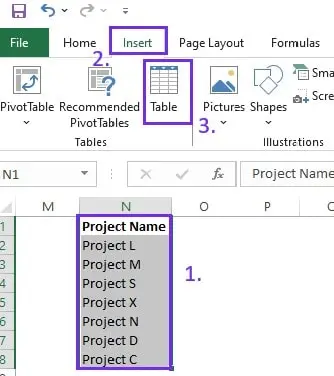
1. Create an Excel Table
To initiate this process, select the data range that you want to include in your table. Go to the “Insert” tab, and under “Tables,” choose “Table.” Excel will recognize your data range and convert it into a table.
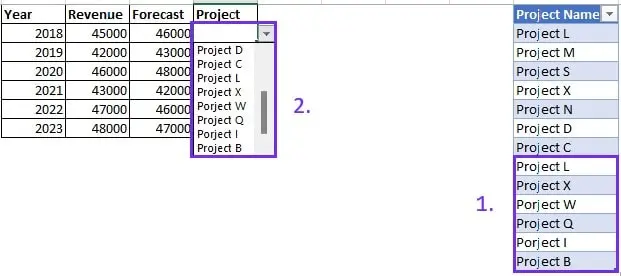
2. Define the Dropdown List
With your table in place, you can proceed to create a dynamic dropdown list. Select the cell where you want the dropdown and navigate to the “Data” tab. Under “Data Tools,” click “Data Validation.”
3. Expanding the List Automatically
In the “Settings” tab, set the “List” option as the source for your dropdown list. As you add or remove data to your table, your dropdown list will automatically expand or shrink, ensuring your spreadsheet remains up-to-date.
Test it yourself to see how it works in your sheet.
Authors Note: See how interactive charting can also help you reduce time spent on Excel enabling next level efficiency. Our team has created data visualization tool as well as guides on visualization practices and data storytelling to help you fast forward reporting.
Removing or Clearing Dropdown Lists
Deleting or Clearing a Dropdown Menu
Sometimes, it’s necessary to remove or clear existing dropdowns.
1. Clearing the Dropdown Content
To clear the content of a cell with a dropdown list, select the cell and press the “Delete” key. This action removes the selected item, leaving the cell empty.
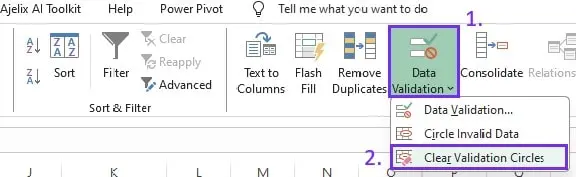
2. Removing Data Validation Rules
If you want to entirely remove the dropdown functionality from a cell, navigate to the “Data” tab, select “Data Validation,” and choose “Clear All” under “Settings.” This will revert the cell to a standard data entry format.
Authors Note: If you enjoyed this article you might also like how to filter by color, how AI data analytics works and how can you use it. In case you’re ready to level-up your productivity check our AI tools and join freemium.
Conclusion
In conclusion, Excel’s drop-down menus are an invaluable asset for data management and user-friendly spreadsheet creation. From basic lists to dynamic tables, dependent dropdowns, and customized appearances, Excel’s data validation tools empower users to take control of their data and streamline the input process.
Speed up your spreadsheet tasks with Ajelix AI in Excel