Say Goodbye to Manual Work: Automate Tasks in Excel

Excel is widely used in the business world. However, manual work can lead to inefficiency, inaccuracies, and frustration. Automating tasks in Excel has many benefits. This blog post will provide a comprehensive guide to help you automate tasks in Excel.
Why Automating Tasks in Excel is Important?
Manual work in Excel can be tedious, time-consuming, and prone to errors. On the other hand, automation allows you to complete tasks faster, with fewer mistakes, and with more accuracy. Automating tasks in Excel also increases productivity and frees up time for more important tasks.
What Are The Benefits of Automating Tasks in Excel?
Automating tasks in Excel can lead to increased efficiency, accuracy, and consistency. Automation can also help reduce errors and workload, and it can even help to streamline teamwork.
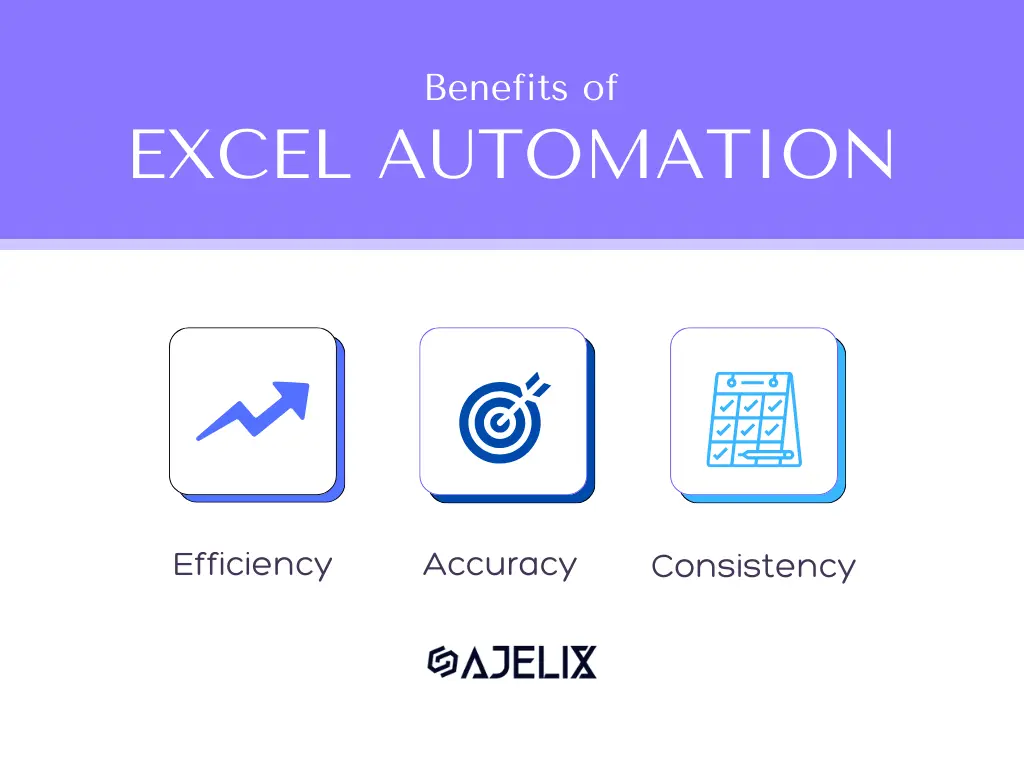
Excel Automation benefits infographic (created by author)
Related Article: An introduction into VBA Programming
How Automation Can Save Time and Increase Accuracy?
By automating tasks, you can significantly reduce the time it takes to complete tasks. Automation also ensures that tasks are completed with a high level of accuracy and consistency.
How to Automate Tasks in Excel?
Introduction to Automation in Excel
Automation in Excel involves recording and running macros. Macros are sets of instructions that automate tasks by recording the steps you take to complete them.
How to Record a Macro?
Recording a macro involves recording the steps of a task that you want to automate. Once recorded, the macro can be run as many times as needed to complete the task. Here are short and specific instructions on how to record a macro in Microsoft Office applications like Word, Excel, and PowerPoint:
- Open the Application:
- Launch the Microsoft Office application (e.g., Word, Excel, PowerPoint) where you want to create the macro.
- Start Recording:
- Go to the “Developer” tab on the ribbon (if not visible, enable it in settings).
- Click “Record Macro.”
- Name the Macro:
- Enter a name for your macro in the pop-up window.
- Assign Shortcut Key (Optional):
- If you want a keyboard shortcut, click “Keyboard” and select a key combination (optional).
- Select Storage Location:
- Choose where to store the macro (e.g., “This Workbook” or “Personal Macro Workbook”).
- Add a Description (Optional):
- Optionally, add a description to remind you of the macro’s purpose.
- Start Recording:
- Click “OK” or “Record” to begin recording your actions.
- Perform Actions:
- Carry out the actions you want to include in the macro. Everything you do will be recorded.
- Stop Recording:
- Return to the “Developer” tab and click “Stop Recording” when you’re done.
Your macro is now recorded and can be run whenever you need it. If you assigned a keyboard shortcut, use it to execute the macro. If not, access it from the “Macros” dialog on the Developer tab.
Related Article: How to stop recording a macro?
How to Run a Macro in Excel?
Running a macro can be run from a macros button or a shortcut key, which can speed up the automation process.
How to Edit a Macro in Excel?
Editing a macro involves modifying the instructions recorded in the macro to meet your specific needs. Editing macros can be done quickly and easily, and it can help to further streamline your work. Need help with automation try AI VBA script explainer.
How to Assign a Keyboard Shortcut to a Macro?
Assigning a keyboard shortcut to a macro can help save time. With just a few keystrokes, the macro can be run. Assigning a keyboard shortcut is easy and can be done in just a few steps.
The specific steps for assigning a keyboard shortcut to a macro may vary depending on the software you’re using, but I’ll provide a general guide that should work for many applications, including Microsoft Office applications like Word and Excel.
Time needed: 5 minutes
Here are the steps to assign a keyboard shortcut to a macro:
- Create the Macro
– Open the application where you want to create and run the macro. (e.g., Microsoft Word, Excel, PowerPoint, etc.)
– Record or write the macro you want to assign a keyboard shortcut to. The process of recording or writing macros varies between applications, but typically, you’ll find a “Macro” or “Record Macro” option in the developer or automation section of the software. Consult the software’s documentation or online resources for detailed instructions on creating macros. - Access the Macro Options
Once you have created the macro, you’ll usually find an option to manage macros in the application’s developer or automation section. In Microsoft Office applications, for example, you can access the Macros dialog by pressing
Alt+F8. - Select the Macro
In the Macros dialog, select the macro you want to assign a keyboard shortcut to. The list should display all the macros you’ve created.
- Options or Edit
Depending on the software, you might see an “Options” or “Edit” button (or a similar option) next to the selected macro. Click on this button to access the macro options.
- Assign a Keyboard Shortcut
Look for an option to assign a keyboard shortcut to the macro. This option may vary depending on the software. In Microsoft Office applications, you’ll find a field labeled “Shortcut key.” Click in this field.
- Choose a Shortcut Key
Press the key combination you want to use as the shortcut for your macro. For example, you could use
Ctrl+Shift+ a letter or number. Make sure the key combination is not already in use by the application for another function, as this may cause conflicts. - Save and Close
After you’ve chosen your keyboard shortcut, save the changes and close the macro options or editor.
- Test the Shortcut
Try using your newly assigned keyboard shortcut to run the macro. It should execute the recorded or written steps automatically.
If you encounter problems with VBA code you might want to test code debugger. Remember that the steps can vary depending on the software you’re using, so consult the software’s documentation or help resources for specific instructions if you encounter any difficulties. Additionally, not all software applications support macros and keyboard shortcut assignments, so this feature may not be available in all programs.
Advanced Automation Techniques in Excel:
Introduction to Advanced Automation Techniques in Excel:
There are several advanced automation techniques that you can use to streamline your work in Excel. These techniques include recording and running macros. Doing so will further improve your efficiency and workflow. These techniques include conditional formatting, formulas, Power Query, and Power Pivot.
How to Use Conditional Formatting to Automate Tasks:
Conditional formatting is a powerful tool that allows you to automatically format cells based on certain conditions. This can be used to highlight cells with specific values, colors, or fonts.
Related Article: How to remove conditional formatting in Excel?
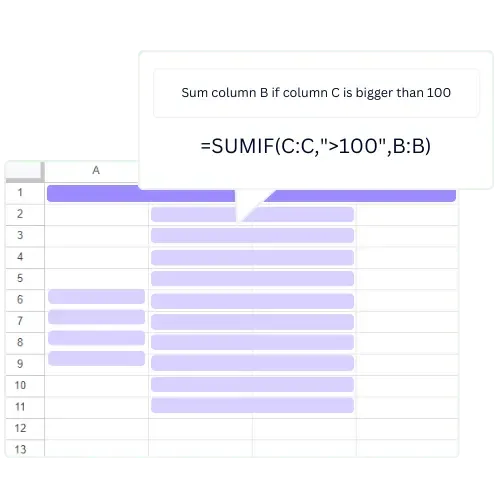
How to Use Formulas to Automate Tasks?
Formulas in Excel allow you to perform complex calculations quickly and easily. You can use formulas to automate tasks such as calculations, data analysis, and more.
How to Use Power Query to Automate Tasks?
Power Query is a powerful data management tool. It enables users to import, transform, and clean up data warehouse from multiple sources easily.
This can be used to automate various tasks. Importing data from external sources, cleaning up data, and transforming data into the required format for analysis. All can be done automatically.
How to use Power Pivot to automate tasks?
Power Pivot is another powerful tool in Excel that can be used to automate complex data analysis tasks. It enables you to construct connections between distinct data validation rules. You can also generate calculated columns and measures. Additionally, you can execute complex data analysis using DAX formulas.
Related Article: How to use power pivot to analyze data?
Automating Specific Tasks in Excel
How to automate data entry tasks in Excel
Data entry is one of the most time-consuming tasks in Excel, but it’s vital to ensure data quality. This section will show you how to automate data entry tasks. This can be done through data validation, drop-down lists, and Excel’s form controls. Tools like a jpg to excel converter can also simplify the process by converting data from images directly into editable spreadsheets, saving time and effort. Struggling with automation try AI-powered VBA script generator.
How to automate formatting tasks in Excel
Formatting data in Microsoft Excel can be tedious and time-consuming. However, it is essential for making the data more readable and easier to analyze. In this section, we’ll examine how we can use formatting tools to automate tasks and save time. These tools include cell styles, conditional formatting, and Excel’s format painter.
How to automate chart creation in Excel
Creating charts in Excel is an effective way to display data and share your results with others. However, it can be time-consuming. In this section, we’ll examine how to use Excel to create charts automatically. We’ll explore chart templates, styles, and formatting tools. You might want to try Ajelix BI that will automate chart creation. Here’s a quick peek into the report dashboard that was created by Ajelix team in less than 5 minutes.
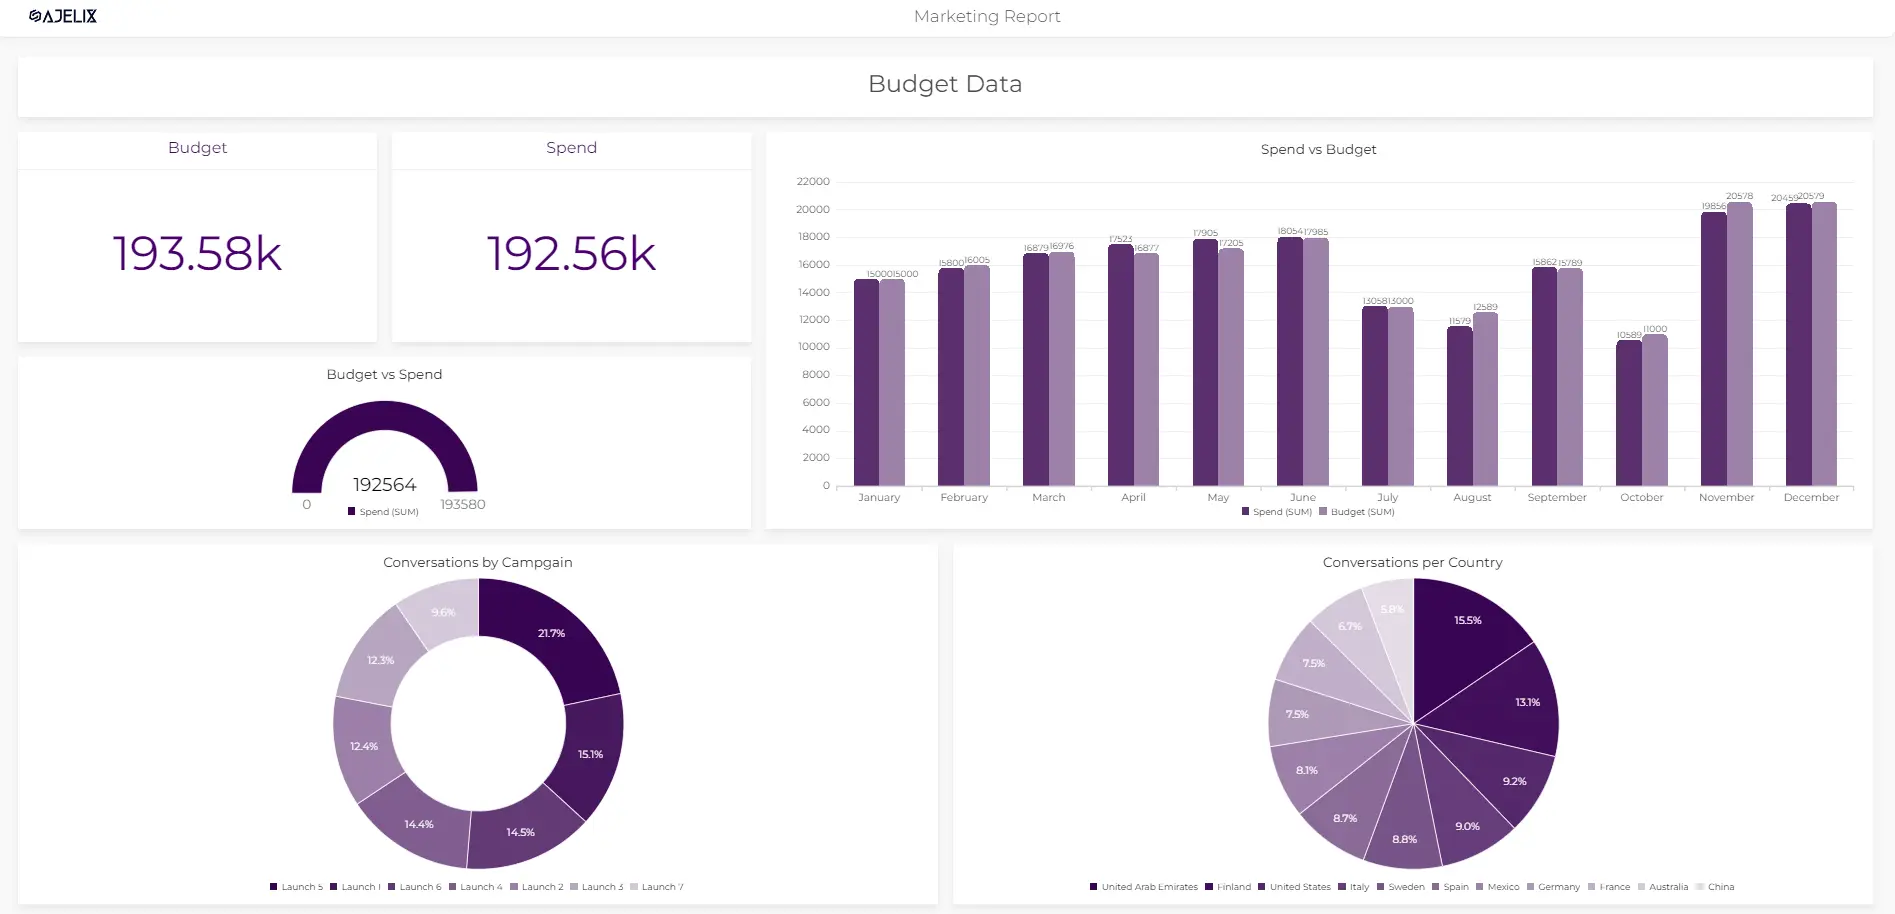
Data dashboard from Ajelix BI, see live report here.
Related Article: How to create effective data dashboards?
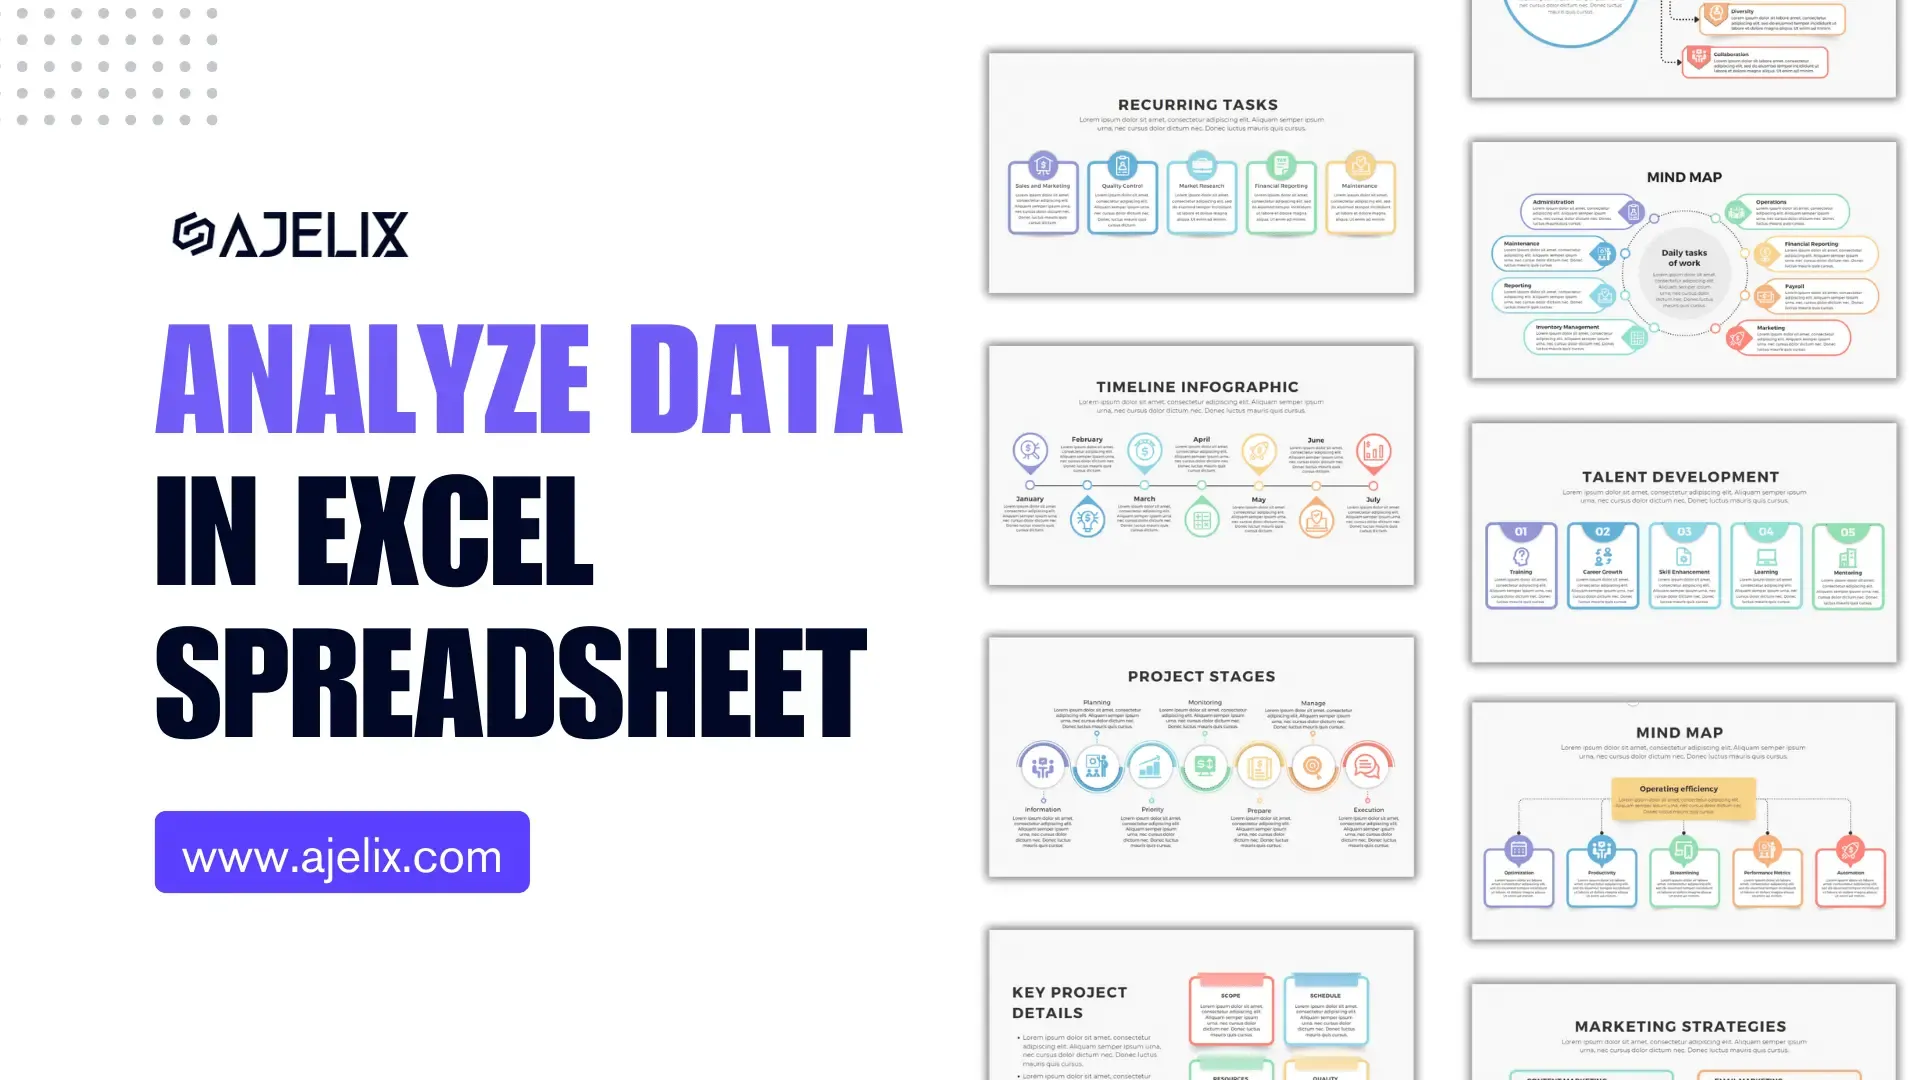
How to automate data analysis tasks in Excel
Excel is a powerful tool for data analysis, but analyzing large data sets can be a time-consuming and complex process. In this section, we’ll explore the automation of data analysis tasks. We’ll use quick-access toolbar such as PivotTables, PivotCharts, and Excel’s built-in data analysis tools. Have you heard about AI data analytics?
Conclusion
Automating tasks in Excel can save you a significant amount of time and increase the accuracy of your work. By leveraging the power of automation, you can eliminate tedious manual tasks and focus on more important work. No matter your skill level, you can automate tasks in Excel with various tools and techniques. Follow the best practices outlined in this post to start today and enjoy the benefits.
Frequently Asked Questions
Automating tasks in Excel saves time, increases accuracy, and reduces the risk of errors.
Advanced automation techniques in Excel include using conditional formatting, formulas, Power Query, and Power Pivot.
You can automate specific tasks in Excel such as data entry, formatting, chart creation, and data analysis by using macros, formulas, and other automation techniques.
Learn more about Excel and Google Sheets hacks in other articles. Stay connected with us on social media and receive more daily tips and updates.
Speed up your spreadsheet tasks with Ajelix AI in Excel