- Home
- Data Visualization
- Tools
- AI Data Analyst
- Excel Formula Generator
- Excel Formula Explainer
- Google Apps Script Generator
- Excel VBA Script Explainer
- AI VBA Code Generator
- Excel VBA Code Optimizer
- Excel VBA Code Debugger
- Google Sheets Formula Generator
- Google Apps Script Explainer
- Google Sheets Formula Explainer
- Google Apps Script Optimizer
- Google Apps Script Debugger
- AI Excel Spreadsheet Generator
- AI Excel Assistant
- AI Graph Generator
- Pricing
- Resources
Explore other articles
- 7 Productivity Tools and AI Plugins for Excel
- Julius AI Alternatives: Top 5 Choices 2026
- No Code Analytics: Top Tools in 2026
- Automation Tools for Excel in 2026: Built-In & Third-Party
- 5 Healthcare Data Analytics Trends 2026
- Best Analytics Platform For Startups In 2026
- 15 Best AI Tools For Startups In 2026 We Tried
- 7 Best AI Tools for Excel Data Analysis (2026 Comparison)
- AI Data Intelligence For Workspace
- Conversational Analytics & AI
Try AI in Excel
Headers play a vital role in Excel spreadsheets, contributing to improved organization, readability, and data analysis. Understanding the purpose and benefits of headers is essential for efficient spreadsheet management.
What is Header in Excel?
Excel headers are labels at the top of a worksheet that give context to the data in columns and rows. Separating headers from other components, such as cell content or formulas, helps maintain clarity and structure within the worksheet.
How To Add a Header in Excel?
Time needed: 2 minutes
Step-by-step guide on adding a Header in Excel
- Opening Excel and Creating a New Worksheet
Launch Excel and create a new worksheet by selecting “File” and then “New.”

- Navigating to the Insert Tab
Locate and click on the “Insert” tab in the Excel ribbon at the top of the window.

- Clicking on the Header & Footer Button
Within the “Text” group of the “Insert” tab, click on the “Header Footer” tab on Excel ribbon. There might be cases when you don’t see Header & Footer button like in the image below. To do that, find the Text field and click on it to open the drop-down menu.

- Selecting the Desired Header Format or Customizing It
Once you’ve clicked the Header & Footer additional settings will pop out. You will be able to automatically edit the header for all pages.

- Entering the Header Text
Once you selected or customized the header, enter the relevant text into the designated area. Here’s our example:

Related Article: How To Add Footnotes in Excel?
How To Customize Headers in Excel?
Formatting Options for Headers
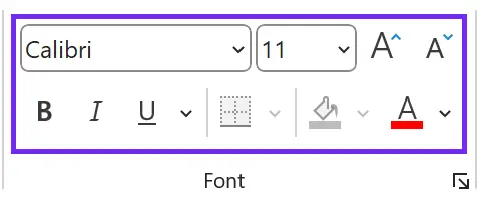
Changing Font Type, Size, and Color. Modify the header text’s font type, size, and color to match the desired formatting style. You can accomplish it through the “Font” section in the Excel ribbon.
Applying Bold, Italics, or Underline Formatting. Emphasize specific words or phrases within the header text. By applying bold, italics, or underline formatting using the formatting options in the Excel ribbon. Add page numbers to worksheets in workbook and click anywhere to exit the header.
Related Article: How To Add A Secondary Axis in Excel?
Adding Images or Logos to Headers
Inserting an Image into the Header Section. Enhance the visual appeal of the header by inserting an image or logo. Select the “Picture” option within the “Header & Footer Elements” section and browse for the image file.
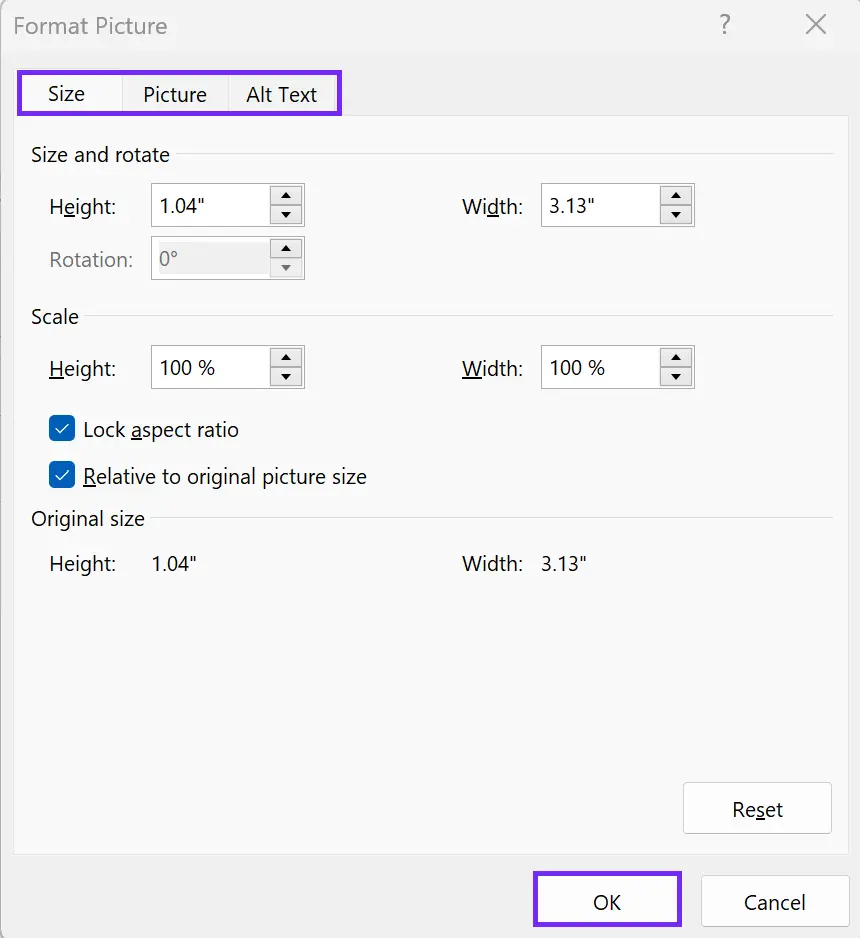
Adjusting the Size and Position of the Image. Resize and reposition the image within the header to achieve the desired layout. Utilize the sizing and alignment options available in the Excel ribbon.
Adding Transparency or Effects to the Image. Customize the image appearance by adjusting transparency or applying special effects. Explore the formatting options within the “Picture Tools” dialog box that appears when you select the image in view tab.
Related Article: How To Remove Conditional Formatting
How To Delete and Edit Headers?
Deleting Headers
- Removing Headers from a Single Worksheet. To remove headers from a specific worksheet, navigate to the “Insert” tab and click on the “Header & Footer” in Excel button. In the page layout view header section, select the range and delete the existing text or formatting.
- Deleting Headers from Multiple Worksheets Simultaneously. For bulk header removal, select multiple worksheets by holding down the Ctrl key while clicking on the sheet tabs. Follow the steps mentioned above to delete the rules from selected cells.
Editing Headers
- Modifying Header Text or Formatting. To edit header text or formatting, select the header section by following the steps provided for adding a header. Modify the text, font, alignment, or any other desired elements. And close header and footer rules from entire sheet page layout tab.
- Updating Headers across Multiple Worksheets. To update headers across multiple worksheets simultaneously, insert a new worksheets or holding down the Ctrl key. Proceed to edit to apply the changes to all selected sheets.
Related Article: How To Remove and Uninstall Excel Add-in
Conclusion
Headers play a crucial role in Excel spreadsheets, enabling improved organization, readability, and data analysis. Users can use headers to improve their ability to manage and analyze data by understanding their purpose, benefits, and customization options. Incorporate headers into your Excel worksheets and unlock the power of organized and easily interpretable data.
Learn more about Excel and Google Sheets hacks in other articles. Stay connected with us on social media and receive more daily tips and updates.
Frequently Asked Questions
Yes, you can have different headers on each worksheet in Excel.
Yes, you can insert images or logos in the header of an Excel worksheet.
Yes, you can use the shortcut “Alt+I+H” to add a header in Excel.
Speed up your spreadsheet tasks with Ajelix AI in Excel


