Streamline Your Workflow: Delete Rows in Excel

Streamlining your workflow in Excel is crucial for ensuring that you get the most out of your data analysis. This article will provide an overview of how deleting rows in Excel can help with workflow optimization.
This post will discuss basic and advanced techniques for deleting rows in Excel. Additionally, it will cover best practices for streamlining your workflow, as well as troubleshooting common issues with deleting rows. Lastly, it will provide real-world examples of how companies and individuals have successfully streamlined their workflow using Excel row deletions.
Basic Techniques for Deleting Rows in Excel
Deleting sheet rows in Excel is a fundamental skill that every user should master. This section will cover different methods for deleting rows.
How to delete a single row in Excel?
Deleting a single row in Excel is a simple process that can be achieved in a few clicks. This section will walk you through the step-by-step process of deleting a single row.
Time needed: 1 minute
Quick guide with simple steps on how to delete a single row in Excel
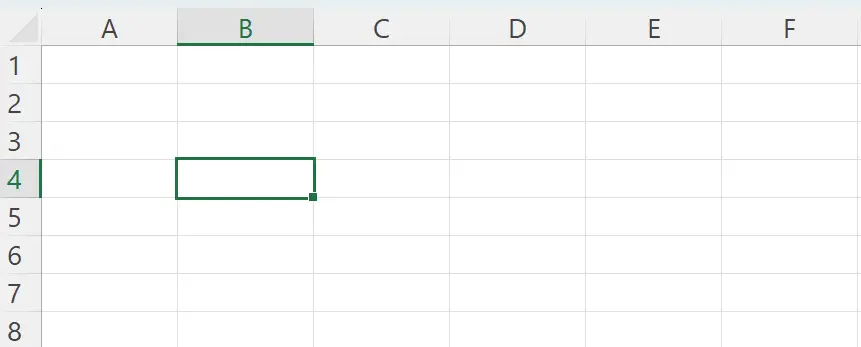
- Select the Row:
First, click on the row number to the left of the spreadsheet to highlight the entire row you want to remove.
- Right-Click for Options
After selecting the row, right-click on it. A context menu will appear.
- Choose “Delete”
In the context menu, choose “Delete”. Excel will prompt you with options.

- Select “Entire Row”
To delete the entire row, be sure to select the option that reads “Entire Row.”
- Confirm the Deletion:
A confirmation box may appear. Confirm your choice to delete the row.
And just like that, you’ve mastered the art of deleting a single row in Excel. It’s a small but powerful skill that can streamline your data manipulation tasks in spreadsheets.
Related Article: How to remove conditional formatting in Excel?
How to delete multiple consecutive rows in Excel?
Deleting multiple consecutive rows in Excel can be a useful technique for removing large chunks of data sets. When it comes to data wrangling in Excel, efficiency is key. To delete multiple consecutive rows in Excel, follow this swift process:
- Select the First Row: Begin by clicking on the row number of the first row you want to remove.
- Hold Shift: Now, here’s the trick. Hold down the Shift key on your keyboard.
- Select the Last Row: While holding Shift, click on the row number of the last row in the sequence you wish to delete.
- Release Shift: Once you’ve selected the range, simply release the Shift key.
- Delete Rows: Right-click anywhere within the selected rows and choose “Delete” from the context menu.
- Confirm Deletion: Excel may ask you to confirm the deletion; click “OK” to proceed.
Voila! You’ve swiftly mastered the art of deleting multiple consecutive rows in Excel. This handy technique can help you streamline your spreadsheet tasks and keep your data organized.
Related Article: How to delete a chart in Excel?
How to delete non-consecutive rows in Excel?
Deleting non-consecutive rows in Excel is another technique that can be useful for removing specific rows. When managing data in Excel, the need to delete non-consecutive rows often arises. Fortunately, Excel offers a straightforward solution for this task:
- Select the First Row: Click on the row number of the first row you want to remove.
- Hold Ctrl: To select multiple non-consecutive rows, hold down the Ctrl key on your keyboard.
- Select Additional Rows: While holding Ctrl, click on the row numbers of the rows you want to delete. These selections can be scattered throughout your spreadsheet.
- Release Ctrl: Once you’ve picked all the non-consecutive rows, simply release the Ctrl key.
- Delete Rows: Right-click anywhere within the selected rows and choose “Delete” from the context menu.
- Confirm Deletion: Excel may prompt you to confirm the deletion. Click “OK” to proceed.
And just like that, you’ve successfully deleted non-consecutive rows in Excel. This versatile technique empowers you to efficiently manage your data, whether you’re removing outliers or restructuring your spreadsheet. If you are struggling with spreadsheet tasks try using AI Spreadsheet Assistant.
What are The Keyboard shortcuts for deleting rows in Excel?
Using keyboard shortcuts can save you time and increase your efficiency when working in Excel. This section will introduce you to some of the most useful keyboard shortcuts for deleting rows in Excel.
Alternatively, you can use a keyboard shortcut to expedite the process:
- Select the Row as before.
- Press Shift + Spacebar to select the row.
- Press Ctrl + (-) Minus Key (found in the numeric keypad) to delete the selected row.
Advanced Techniques for Deleting Rows in Excel
Section 1 covers basic techniques. There are also advanced techniques that can help you with workflow. These techniques can streamline your workflow. This section will cover the following topics:
Using filters to delete rows based on specific criteria:
Filters are a powerful tool in Excel that can help you identify and delete rows based on specific criteria. In the realm of data manipulation, wielding the power to use filters effectively and selectively delete rows based on specific criteria is nothing short of invaluable. Here’s how to do it:
- Select Your Criteria: Identify the specific conditions that the rows must meet for deletion. This could be numeric thresholds, text patterns, or a combination of factors.
- Apply Filters: Activate the filtering feature and specify your chosen criteria. The filter will then scan your dataset, revealing rows that fit the bill.
- Delete Rows: With surgical precision, delete the identified rows that no longer align with your data objectives.
- Review and Confirm: Always double-check your selections before confirming the deletion. Data loss can be irreversible.
- Save Your Work: Ensure you save a copy of your refined dataset, so you have both the original and the filtered versions for reference.
Mastering the art of using filters to delete rows based on specific criteria empowers you to sculpt your data into a finely-tuned masterpiece.
Related Article: How to filter by color?
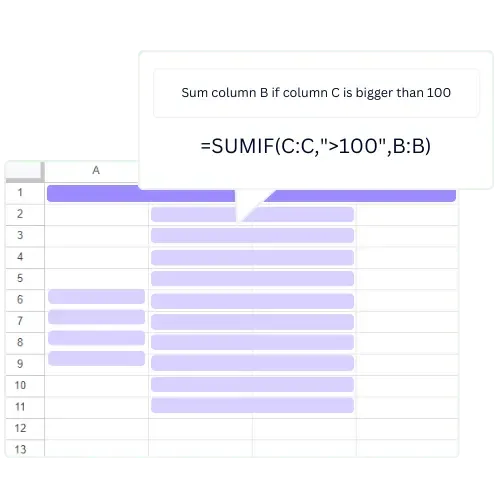
Using formulas to delete rows in Excel:
Formulas can also be used to delete rows in Excel. This section will show you how to use formulas to delete rows based on specific criteria. Try using an AI generator for Excel formula creation.
Using macros to automate the deletion of rows in Excel:
If you find yourself deleting the same rows over and over again, macros can be a lifesaver. This section will introduce you to macros. It will also show you how to use them to automate the deletion of rows in Excel. Macros can be a great way to save time and improve efficiency.
Related Article: Automate Tasks in Excel
Conclusion
In conclusion, streamlining your workflow in Excel can have a significant impact on your productivity and efficiency. By utilizing basic and advanced techniques for deleting rows, you can optimize your workflow analysis and achieve better results.
Review your data carefully. Prioritize your actions. This will ensure your Excel spreadsheet works for you, not against you.
Learn more about Excel and Google Sheets hacks in other articles. Stay connected with us on social media and receive more daily tips and updates.
Frequently Asked Questions
Deleting rows can help simplify and clean up data, making it easier to work with and analyze.
Select the first row you want to delete, hold the Shift key, and select the last row you want to delete. Then, right-click on one of the row numbers and click “Delete” or use the keyboard shortcut “Ctrl Shift -” (minus sign).
“Ctrl -” (minus sign) for deleting a single row and “Ctrl Shift -” (minus sign) for deleting multiple consecutive rows.
Apply a filter to the column containing the criteria, select the rows that meet the criteria, and then delete them.
Use the “Undo” button or the keyboard shortcut “Ctrl Z” immediately after deleting the rows to undo the action.
Speed up your spreadsheet tasks with Ajelix AI in Excel